First, create the 2D multi-views of the below pot using the specified dimensions:
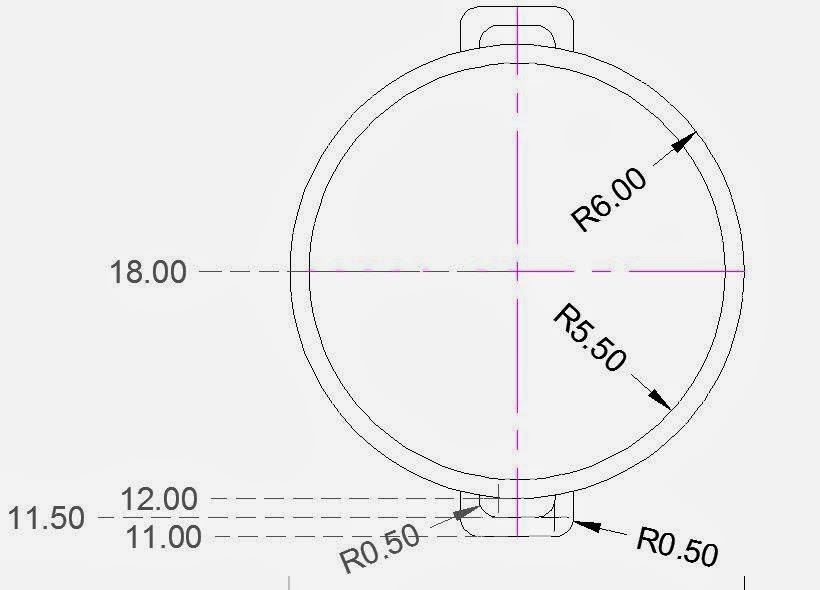
Top:
Two circles, both centered at (6,18), circle one with r = 5.5, circle 2 with r = 6.
Create the handles with rectangles that have the corners filleted with r = 0.5
Hints:
Use mirror command to make second handle, choose the center line as your mirror line.
Use offset, use trim.
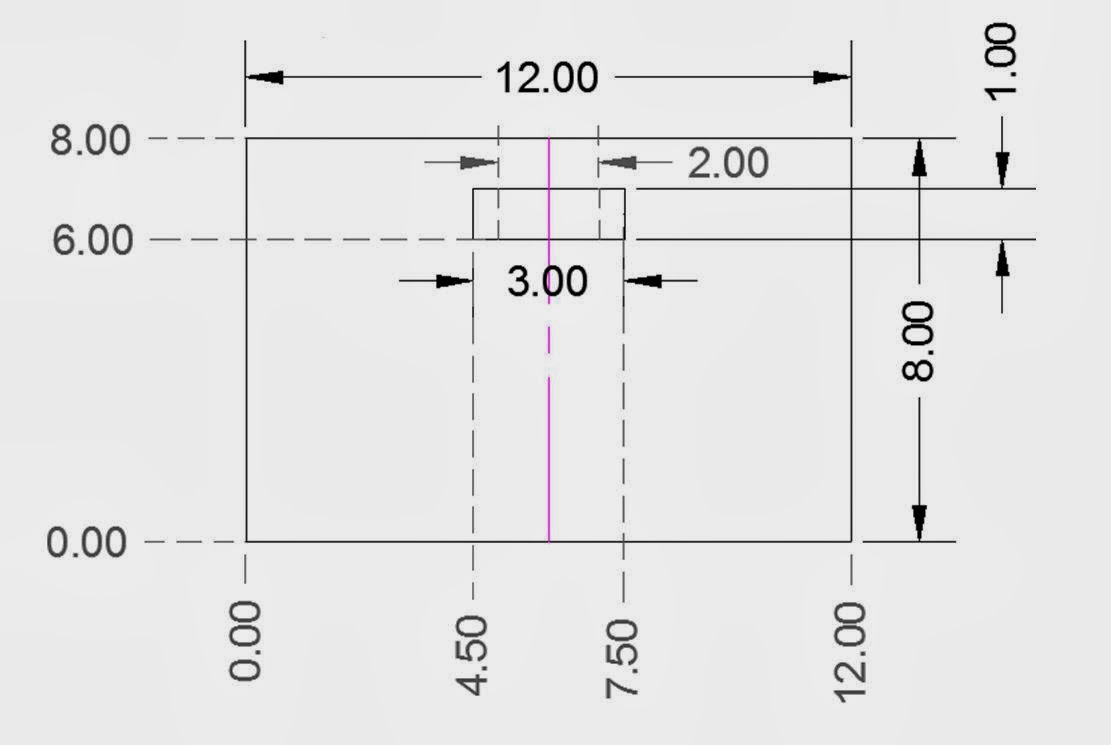
Front:
Two rectangles,
rectangle one: (0,0) to (12,8)
rectangle two (4.5,6) to (7.5,7)
3 views:
Top:
Two circles, both centered at (6,18), circle one with r = 5.5, circle 2 with r = 6.
Create the handles with rectangles that have the corners filleted with r = 0.5

Hints:
Use mirror command to make second handle, choose the center line as your mirror line.
Use offset, use trim.
Front:
Two rectangles,
rectangle one: (0,0) to (12,8)
rectangle two (4.5,6) to (7.5,7)

3 views:
Save your 2D views,
then save your 2D views again under a new name.
Change to 3D workspace, or add 3D tools to your ribbon.
Choose "3D Modeling"

You now have "Solid", "Surface", "Mesh", "Render", and "Parametric" in your ribbon.

Change from a top view, to SW Isometric view through either the pull-down menu: (click on "Top)
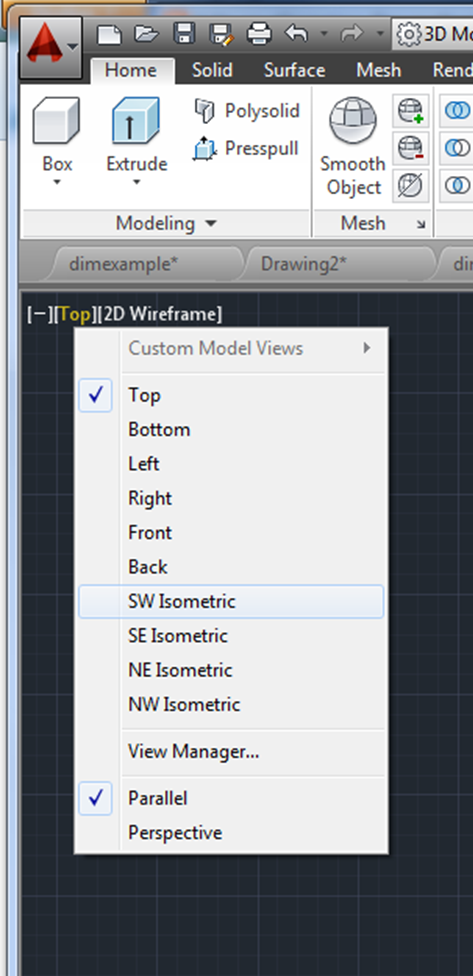
Or, you can choose your view by clicking on the view cube corner:
To pan in 3D, hold down the shift key while holding down the center mouse wheel - try it out! Then return to the SW isometric by clicking the view cube corner.
Create a 3D layer, and work on the 3D layer.
Extrude the base of the pot by typing "Extrude" in the command line, or clicking on the "Extrude" icon in the modeling section of the "home" ribbon.
Extrude (enter)
Select the outer circle in the top view (enter)
Give your pot a height of "8".
Create a 3D layer, and work on the 3D layer.
Extrude the base of the pot by typing "Extrude" in the command line, or clicking on the "Extrude" icon in the modeling section of the "home" ribbon.
Extrude (enter)
Select the outer circle in the top view (enter)
Give your pot a height of "8".
After you have extruded your circle, you can click on "2D wire frame" and select "conceptual" to see a new view of it.

Create a center line in the z direction to snap to.
Create a circle with radius 5.5 at the top of the pot.

Use the "PRESSPULL" command to create the center of the pot.
Type "PRESSPULL"
Select inside the inner circle (rather than the boundary) to push it into the pot.
Push it down -7.5.
Selecting the boundary adds objects on, selecting inside the object creates either a new object, or a hole, depending on pressing or pulling.
Next, we're going to copy, and align the 2D handles.
Type "COPY"
select the handles
select a base point at the pot centerline in the middle of the handle.
copy them to a height of 6.5
SWEEP
Type "SWEEP" in the command line, or select it from the pull down menu under extrude.
Select the small .5 diameter circle (enter)
Use the outer line of the handle as the sweep path.
Erase the inner line of the handle.
Done!
(3D pot "MOVE"ed over into a corner with all the layers turned on)

Using Multiple Viewports:
In a layout, open up a title block, erase your viewport,
type "VIEWPORTS" in the command line.
Choose Four: equal.
Size your viewports to fit above your titleblock.
Use the upper right viewport to display your 3D object with a SW iso
Make sure all of your other viewports have the same scale, and are lined up with one another. You can use an "xline" in paper space to line them up, then erase your xlines. You might have to "MOVE" your views around so the spacing between them works well on your page.
 ~~~~~~~~~~~~~~~~~~~~~~~~~~~~~~~~~~~~~~
Using BASEVIEW:
Fill in the missing view, and create the 3D views for pages 67 and 69 in your book:
Start with a solid 3D block, then pushpull, subtract, and carve away the surfaces (there is a mistake in the book on pg 67, so I will walk you through the first one)
Carve out the block as shown below.
Orient your object to line up with the viewcube views.

Do not add the dim's at this point, they are added here only for your convenience. Everything should be either 2.25, 4.75, or 7 tall.

Next, right click on Model, select template, choose the titleblock you created earlier - ANSIA
Erase the viewport.
From your layout, click on the "Layout" tab (at the top), go to the "drawing views" panel, in "create view", select "base", or type "VIEWBASE" in your command line. select "from model space"
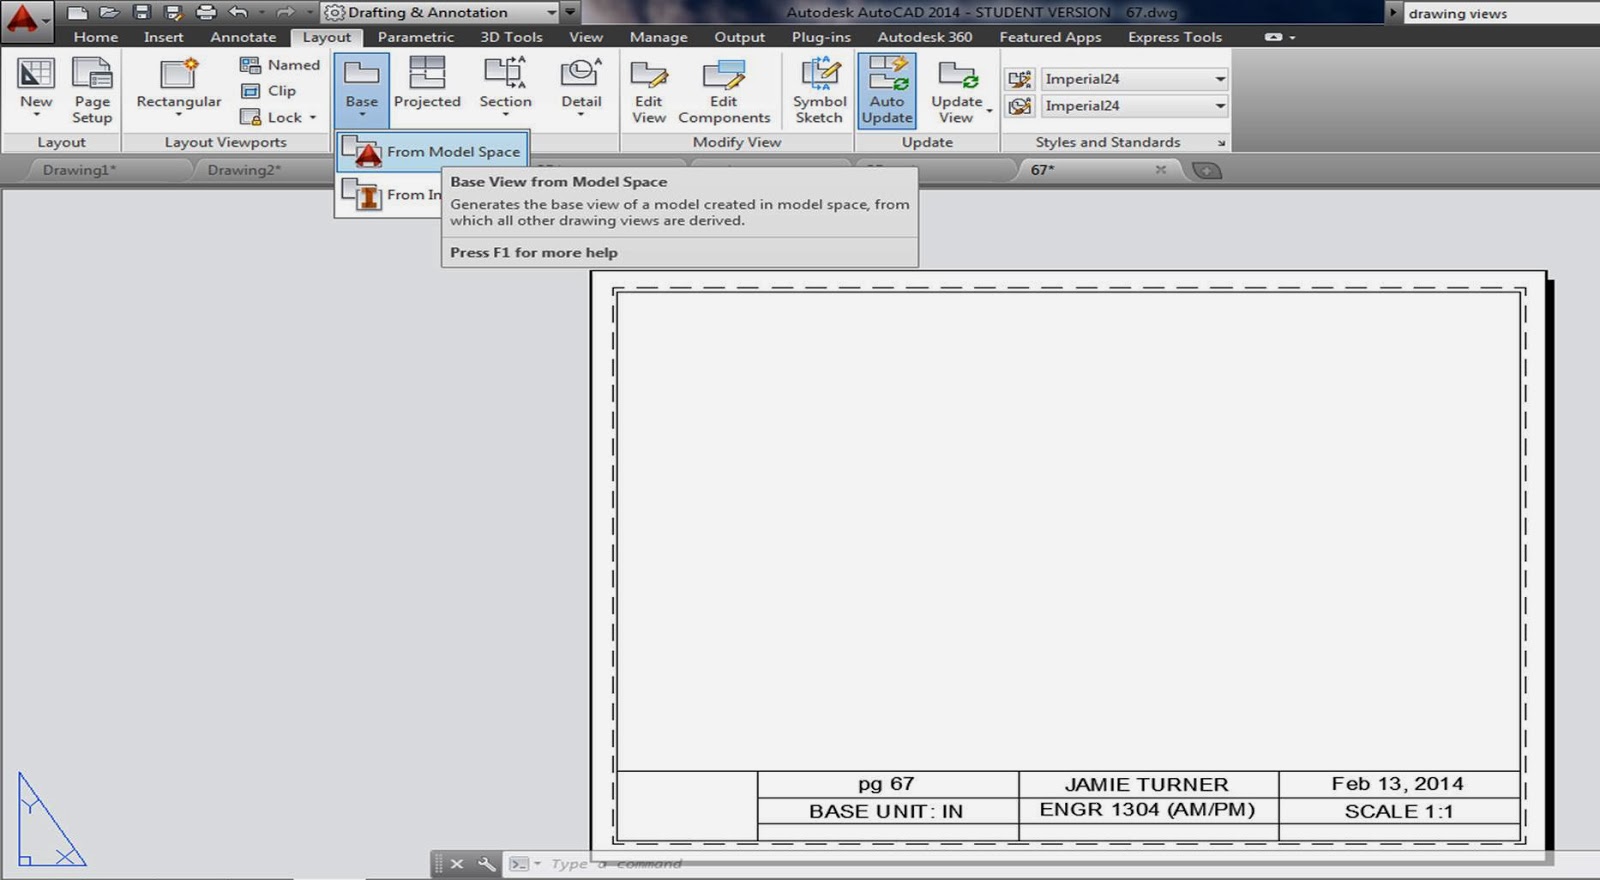
Next, place your first view, or "base view" in the lower left hand corner, hit enter. The first view you select, is what all of the other views will be mapped off of.
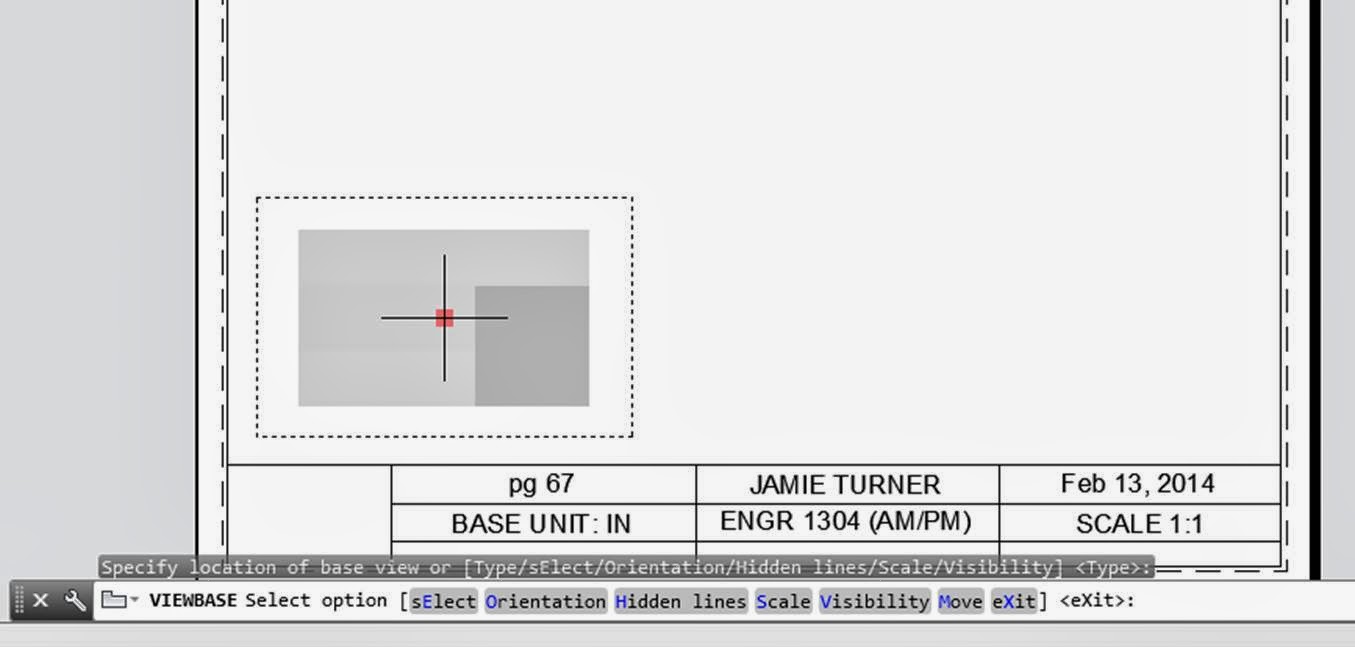
Then, drag the rest of your views out:
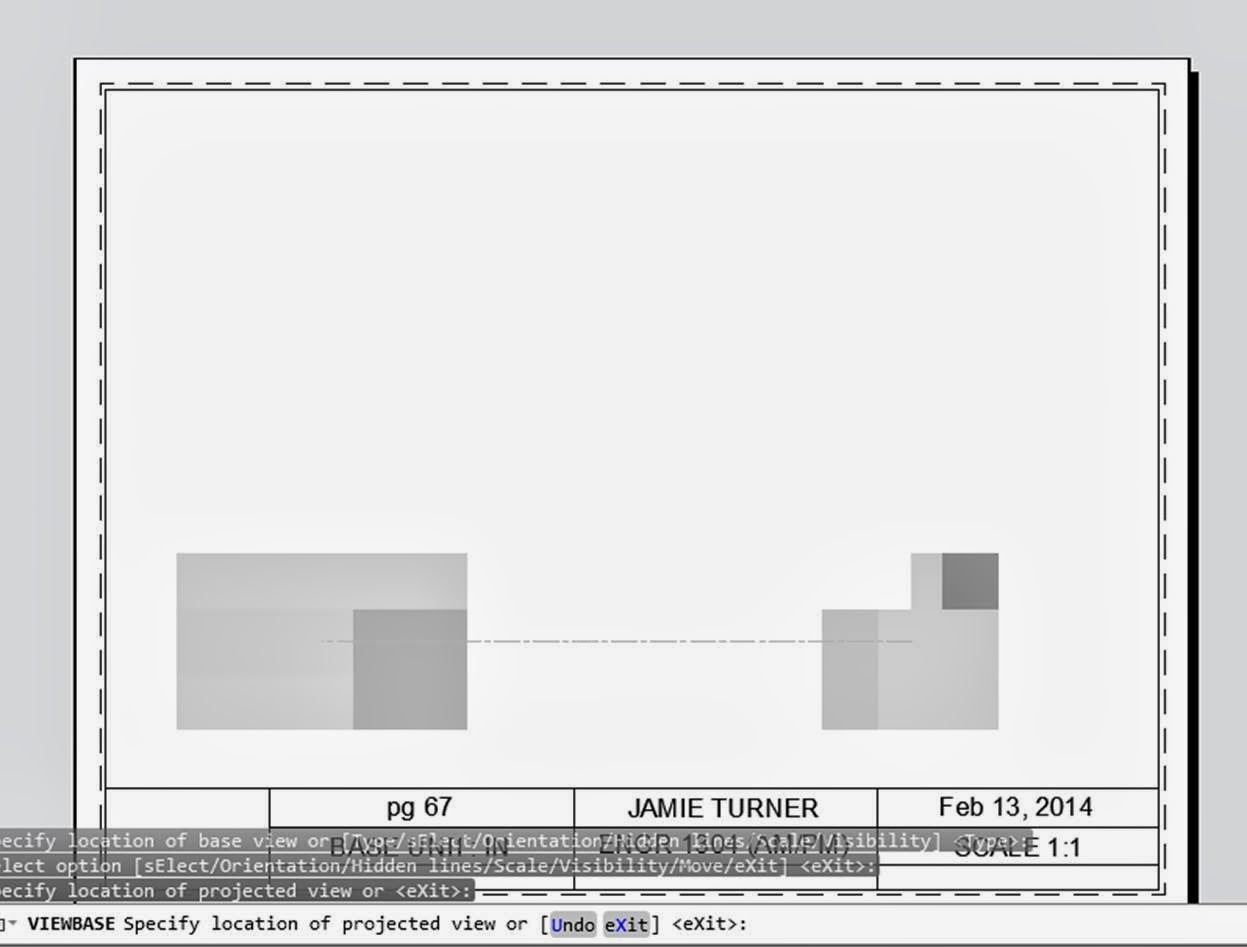
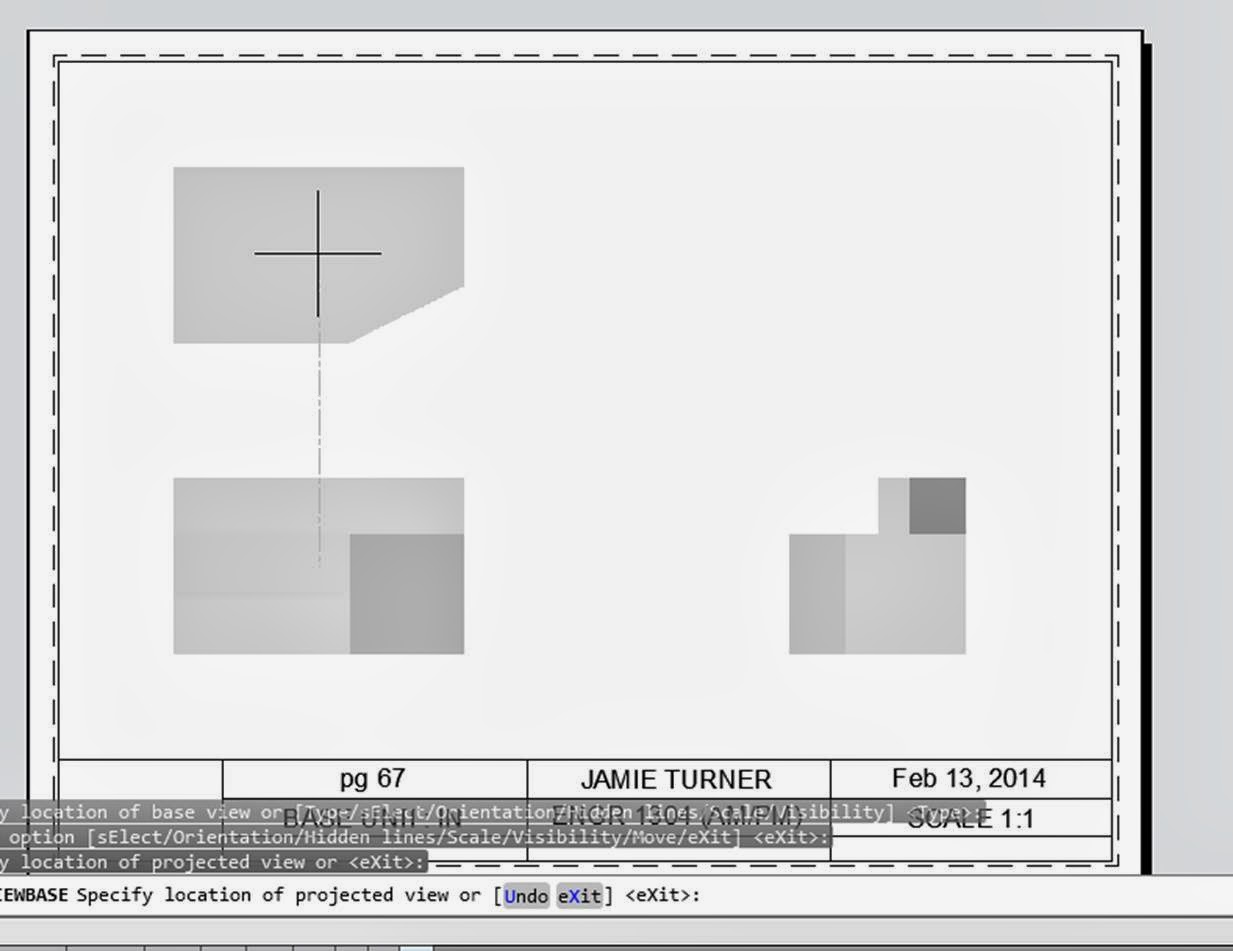
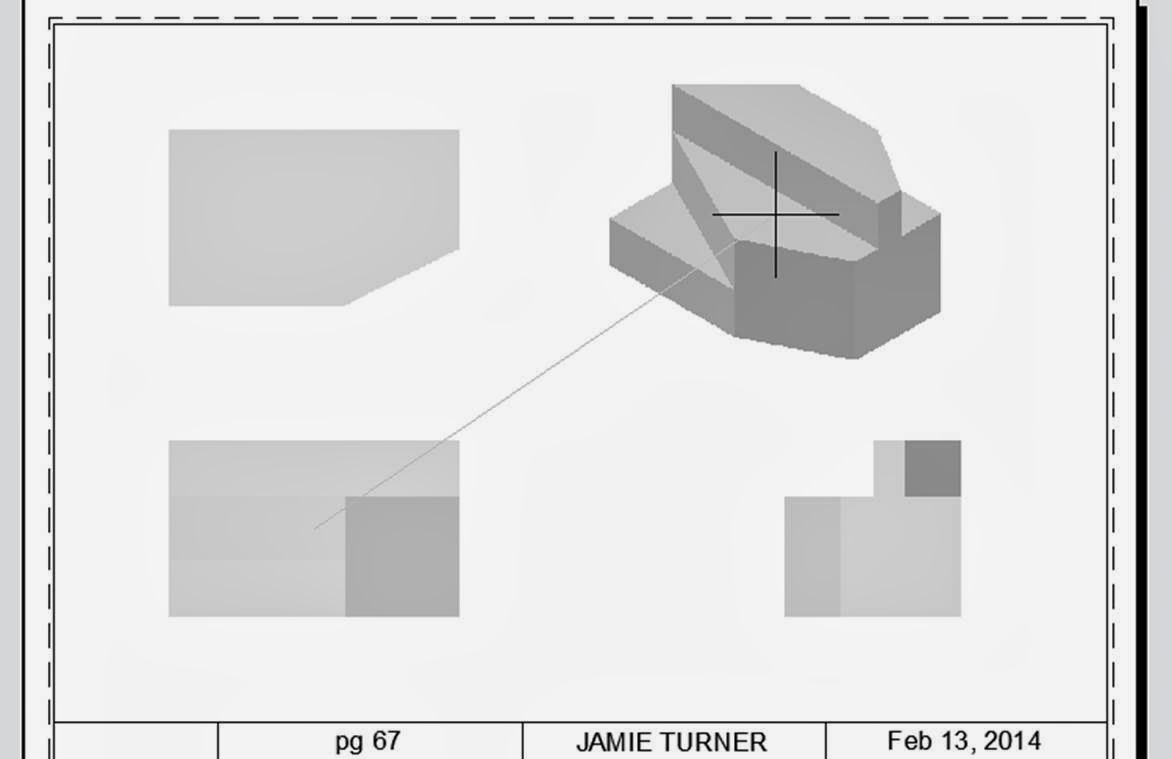
Once you have clicked all of your views in place, hit "enter".

Double click on any of the views and a new ribbon will appear where you can set the scale, etc.
Add your dimensions, and you are done!
See if you can complete pg 69:


No comments:
Post a Comment