- Make a scribble page, and get it checked off by the end of class.
Open a new file, draw something, and play around with hatching.
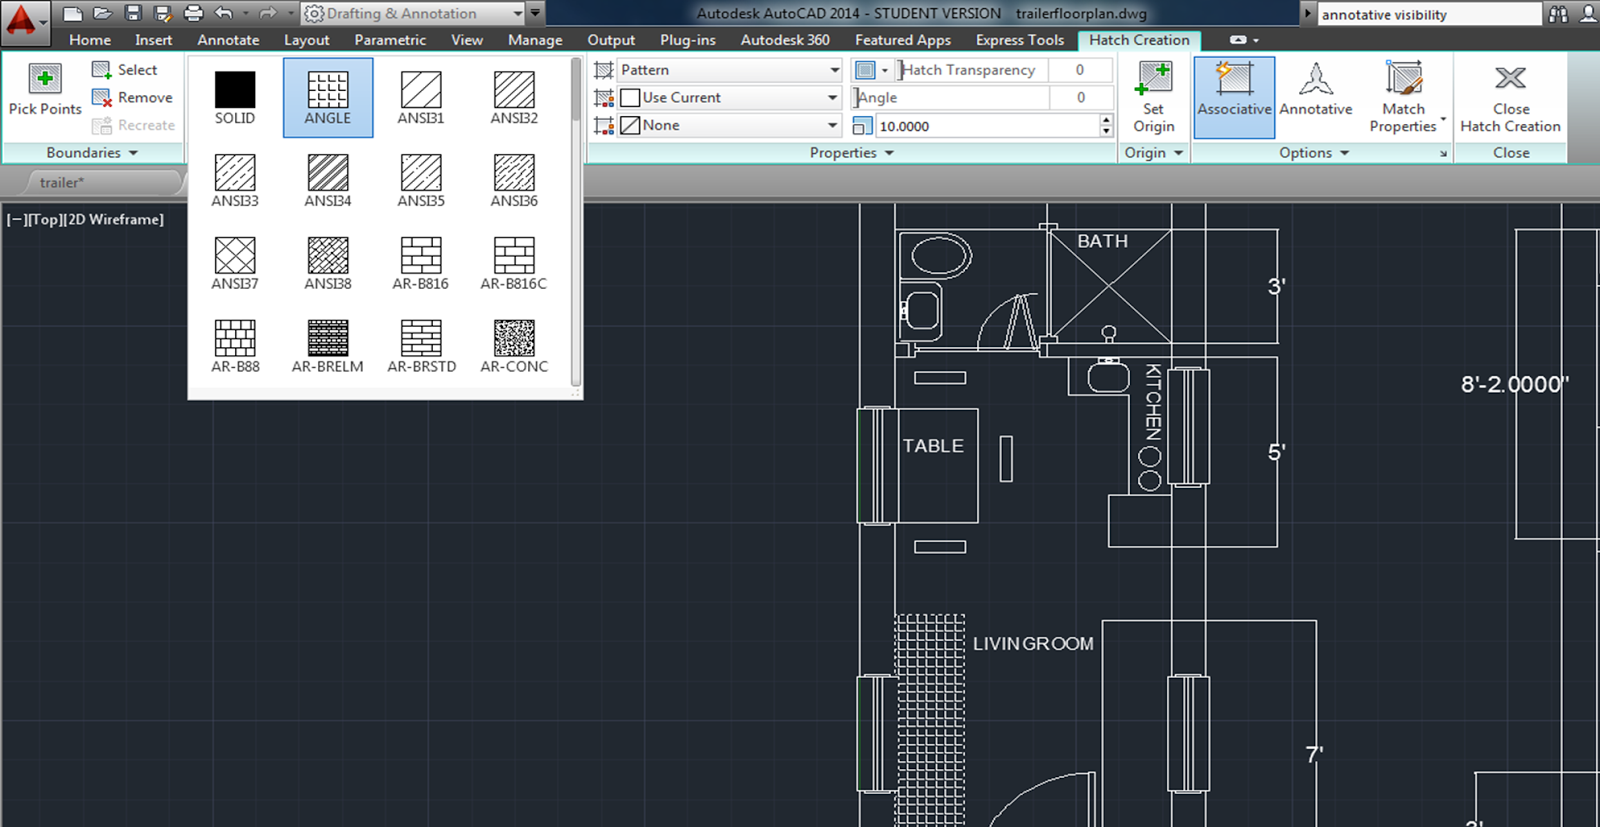
Choose "Hatch" from the ribbon, or type it into the command line.

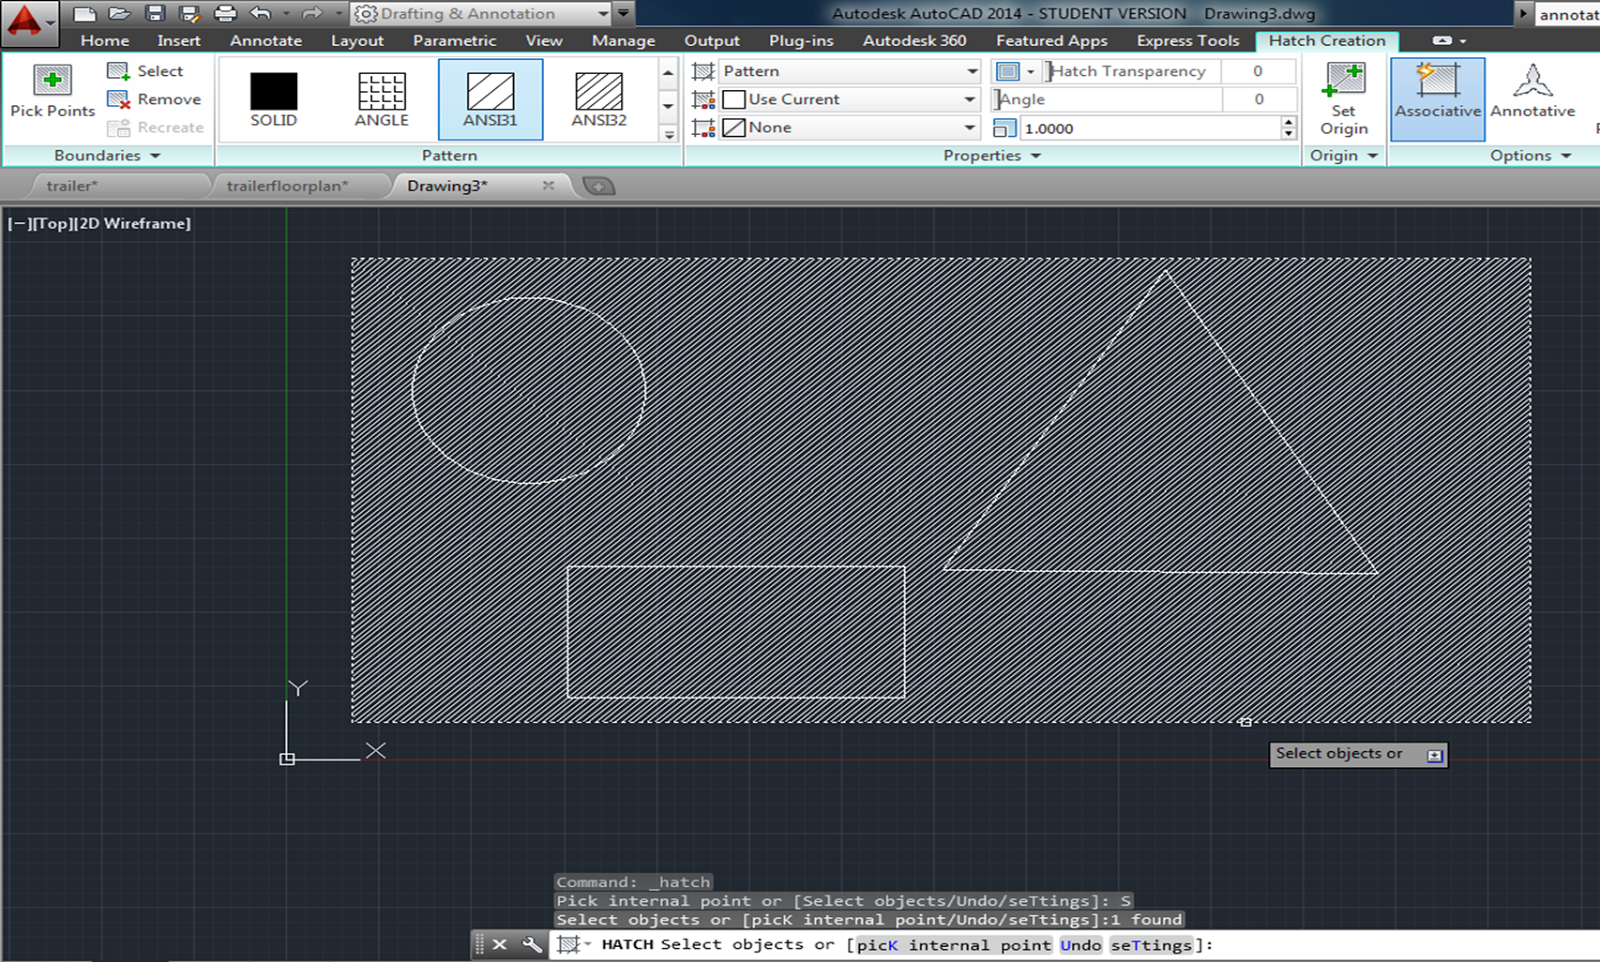
If you pick an internal point (with associative on - or blue)-

Change the size of your objects, and see what happens to the hatch:

I changed the size of the triangle, and the hatch filled in where the shape was changed. This is because by default hatches are associative to their boundaries.
Associative:Associative hatch objects update to the new areas when you change the hatch boundaries.
Experiment to see what happens when you turn associative off. (Just click "Associative" on the hatch ribbon so that it is not blue)
Go back to your unhatched drawing, turn associative off, hatch everything with a few different patterns and scales.

Change the size of your shapes.

You can see that if you hatch without association, hatching will not follow your objects if you resize them.
Just leave "associative" on when you are hatching!
Annotative Hatches (not to be confused with associative):
Annotative hatch objects scale themselves automatically to suit the drawing scale.
Hatches are annotative objects like text and dimensions - they do not directly contribute to the geometry of what you are drawing.
Like text and dimensions, hatches need to be scaled to print properly.
Working with Annotative and multiple scales:
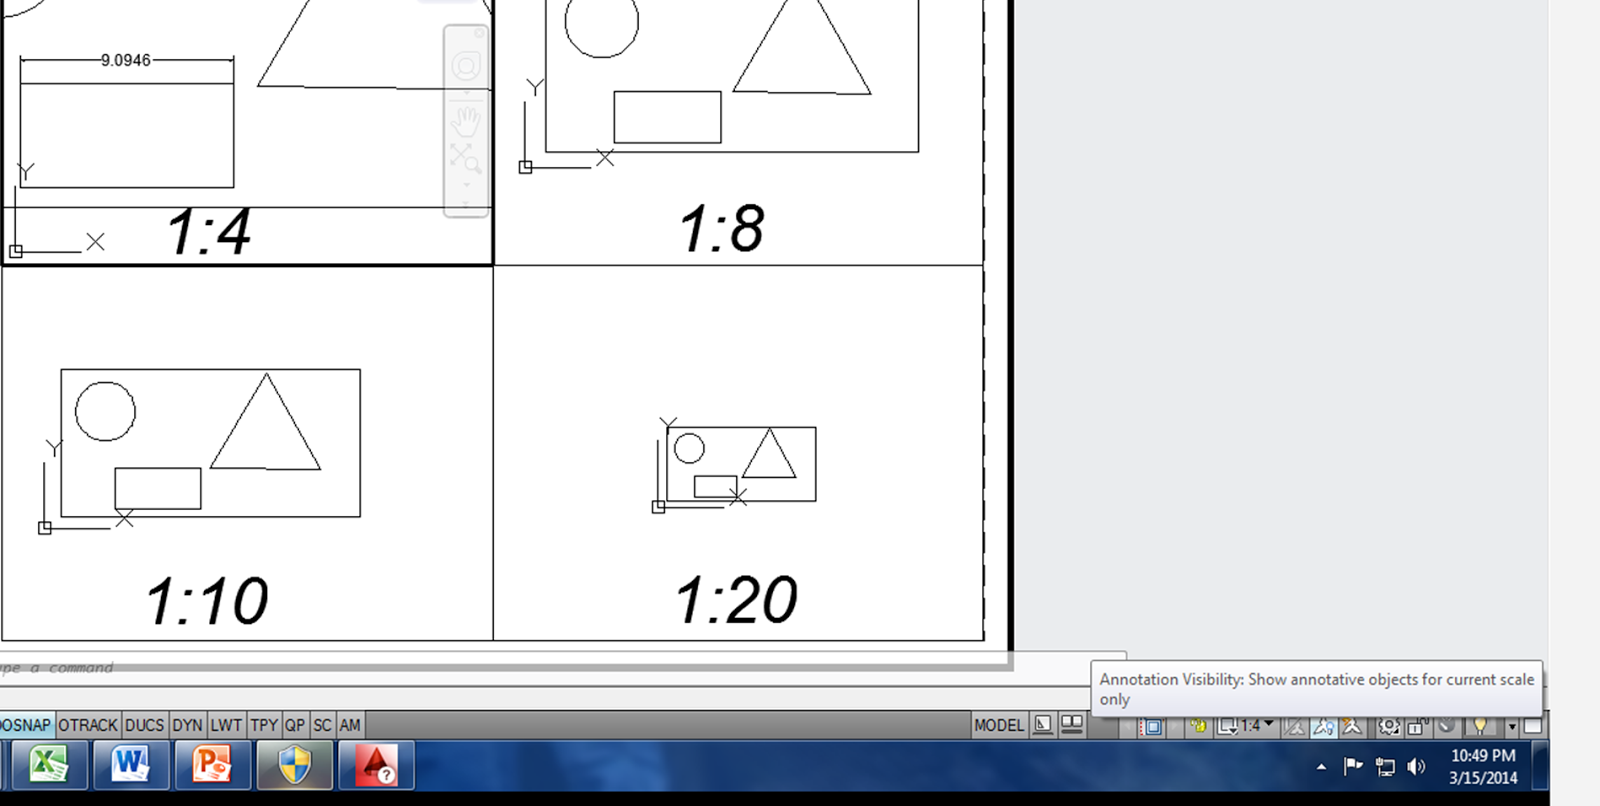
Open up 4 viewports in a layout.
- type "viewport"
- 4 equal
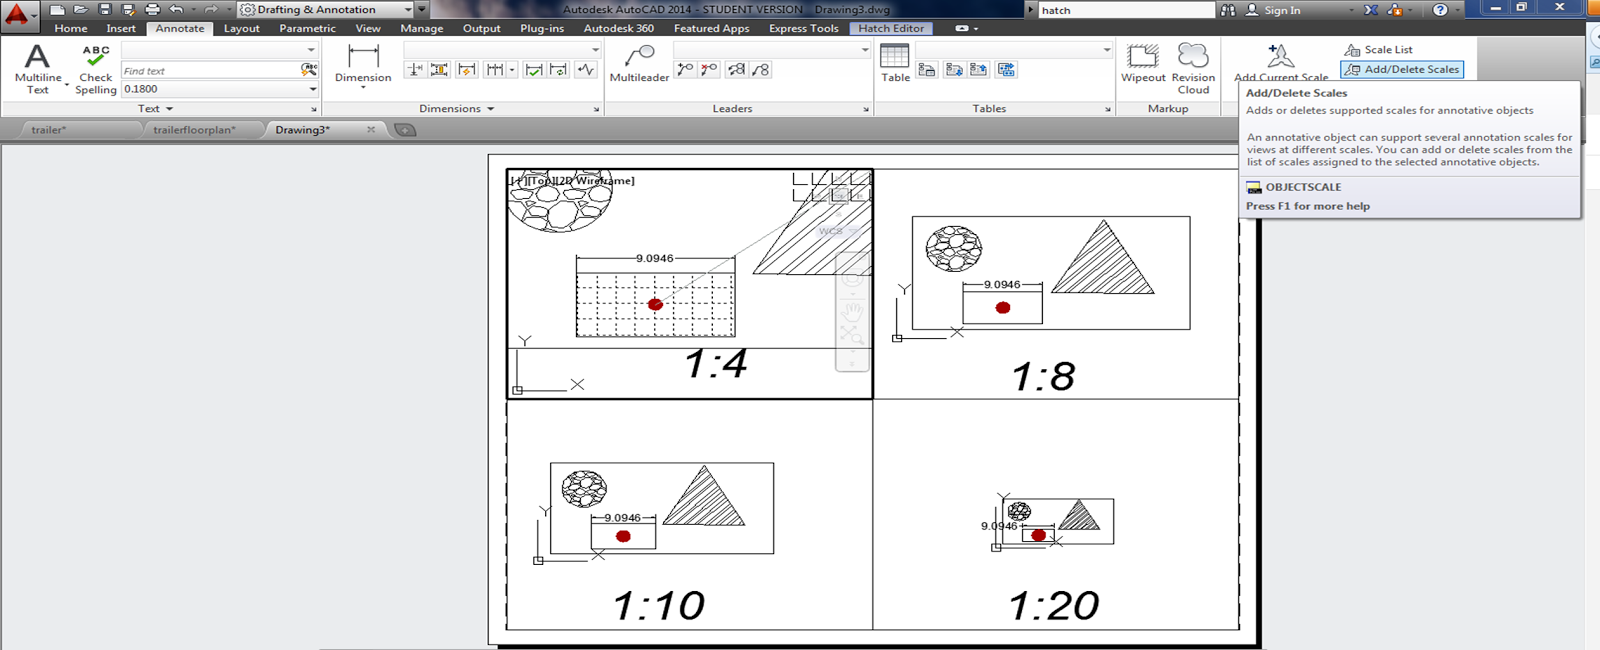
- set each viewport to a different scale (1:4, 1:8, 1:10, 1:20)

Go to the "annotate" tab, add a linear dimension.
Right click on the dimension, select "Properties:
Set annotate to "YES"

Turn the "Annotations Visibility" on and off (lower right hand corner), and see what happens to your dimension:
Select dimension, then "Add/Delete Scales"
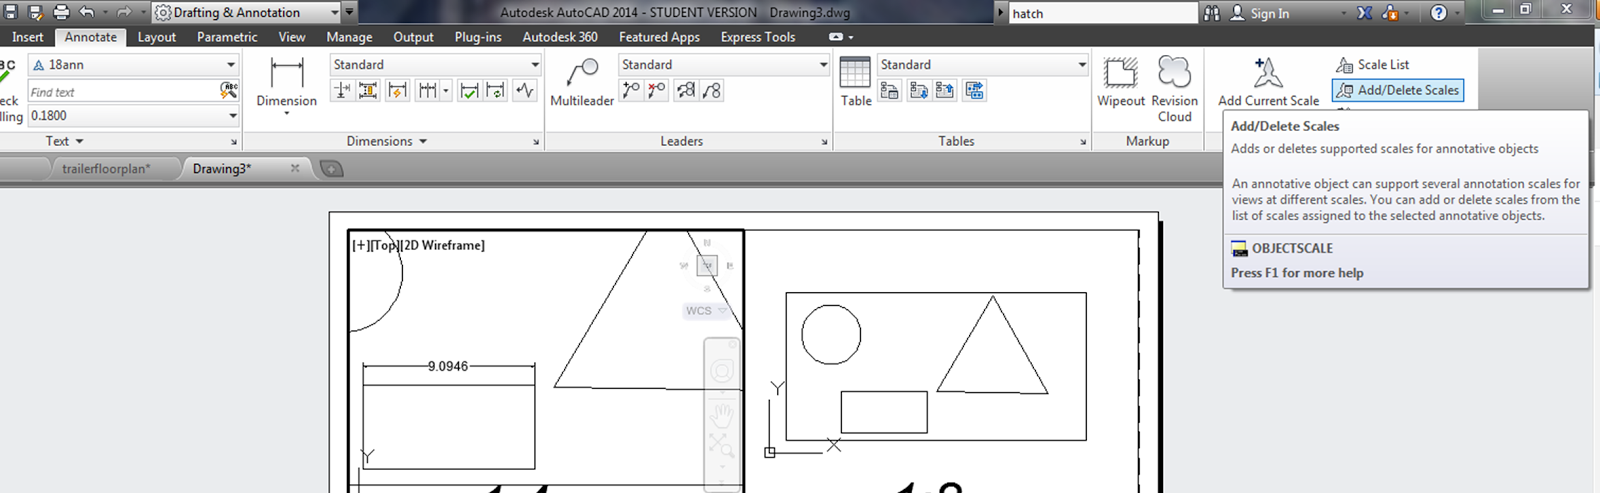
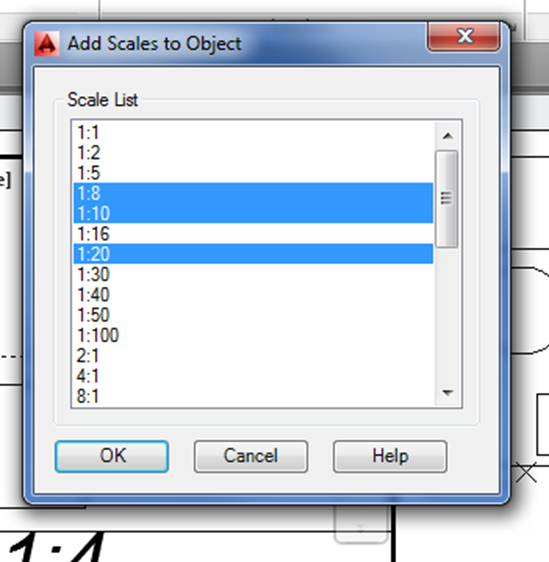
Choose "Add"
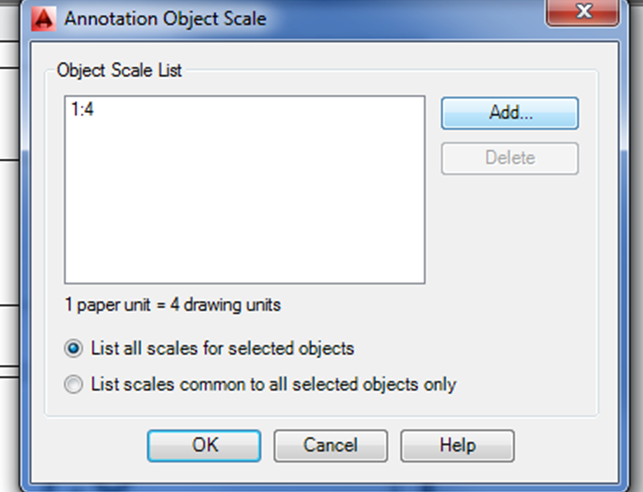
Hold down the Ctrl key, and select the scales in your viewports, then "ok" and "ok":
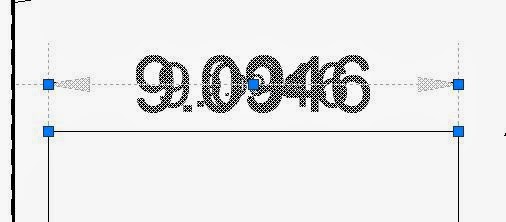
Each Viewport now shows the dimension, and the dimension is the same size in each viewport.

If you click on the dimension, it shows all of the different sizes for all of the different scales:
Now, do the same thing, only with hatch instead of dimension.
In a LAYOUT in MODEL space, select HATCH, and individually fill in a couple of the objects with different patterns.
Initially you will see different sized hatch marks in each of the different scales:


The hatch will disappear in all the view ports except the one you are working in.
Once again, go to "Annotate" tab, and "Add Scales"
Add the scales of the other viewports, hit "ok", "ok"

The hatching in the rectangle is now the same size in each of the viewports:
Annotated rectangle:

Not annotated rectangle:
~~~~~~~~~~~~~~~~~~~~~~~~~~~~~~~~~~~
Annotative Text example:
http://www.youtube.com/watch?v=kUhPrxA33Yc
Matching Hatches:
Here, I selected the triangle, then select "Match Properties" then select the rectangle - this turns the hatch in the triangle to the hatch in the rectangle.


or -
1. Start hatch command
2. Select "Match properties"
3. click inside the hatched region whose properties you want to match
4. Click on a new region to hatch.
Customizing Hatch Patters:
Type "Hatch" in the command line
Type "t" for settings
You will then get the hatch and gradient Dialog Box
Hit the arrow next to help in the lower right hand corner - this will expand the box to look like this:

Skim through all the option in the both the Hatch, and gradient boxes.
Drawing origin:
Let's say you want your hatch to cross your border at a specific spot:
Example - the lowest row of bricks is cut in half, I don't like this, I want the top row to be cut in half instead of the bottom row.

Just type hatch, then "t" for settings, and change the origin to lower left bottom corner:

Now the lowest row of bricks is not cut in half.

~~~~~~~~~~~~~~~~~~~~~~~~~~~~~~~~~~~~~~~~~~~~~~
Once you are comfortable using the hatch commands, open up a new file, and create a floor plan.
Make a Tiny House:
http://www.tumbleweedhouses.com/pages/house-to-go
Start with a 19' long trailer:
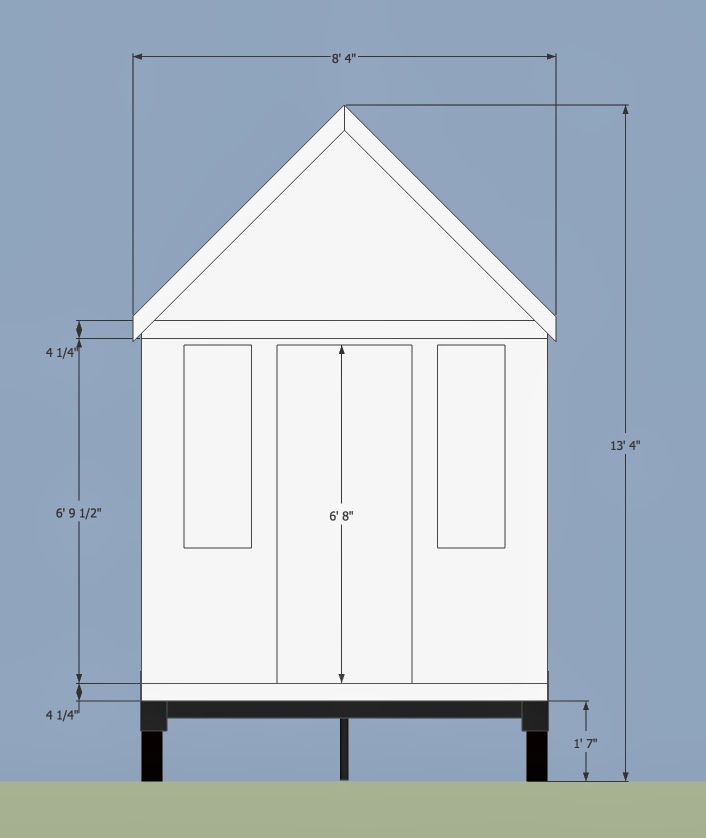
Create a 2D floor plan:

One unit = 1 inch
Use OFFSET to create walls with a thickness of 10"
Include windows, and door swings,
Create both first floor and loft layouts.
Draw in inches, dimension with feet (engineering units)

Create a hatching layer,
Change the scale, angle, colors, etc. of your hatch.

http://www.wimp.com/trailerunpacks/
The UEV 440 Trailer Unpacks To Become An All-In-One Station For Cooking, Sleeping, And Traveling.
http://www.ulive.com/video/narrow-steel-home-fills-gap?soc=home22253494
No comments:
Post a Comment